Friday, September 27, 2013
Making a Repeat Pattern in Photoshop CS6 Part 1
My friend, Nolwenn Petitbois asked how I did it so, I thought I'd write a step by step. Just so you know, I am quite new to using software and writing how-to's. There may be faster ways of doing things. This is how I am working now. If anyone has suggestions or faster methods, let me know. I am totally open to learning!
The first thing I do to make life easier is, I create my characters (also known as icons) on a white piece of paper. I'll show how I isolate art from an existing piece at a later time. I suggest using hot press watercolor paper or bristol paper. Anything very smooth. My scanner picks up everything and creates shadows if there is texture. Scan your art at 400dpi or 600dpi into Photoshop. You can scan as a Tiff or a Jpeg. A Tiff keeps more information.
Here is the sheet of monsters I scanned into Ps. I double click the Layer to unlock it so I can edit. You will be prompted to name the Layer. You can if you want. I usually don't. I also keep my History Panel visible so I can easily jump back a step or more if I need to.
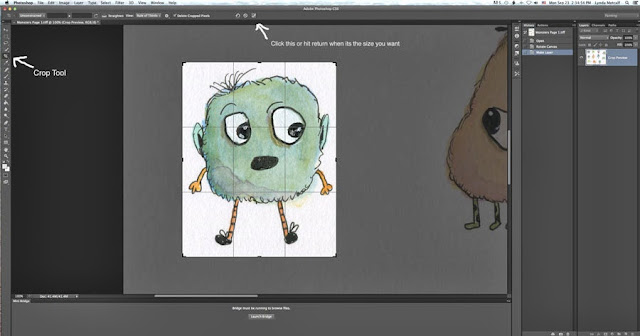
Use the Crop Tool to select your icon.
Then use the Magic Wand tool to erase the white around your image. Think of it like cutting it out of a piece of paper. Click on all the white areas you don't want then hit the Delete button.
After you hit delete you may see stray marks or things you just want to clean up to make your image better. I use the eraser tool for that.
Take your time with this tool. You don't want to erase any areas by mistake. (If you do, you can go back a step in your History panel). Use the bracket keys on your keyboard to make the eraser bigger or smaller. I use the Command Key (Mac) and my + and - keys to make my image bigger or smaller. (I believe it's the Control key on a PC.) The Magic Wand should get rid of almost everything so you don't have much finishing work to do. You should end up with an icon with no background.
Now you need to Save your image without loosing all your other icons. I always, always, always use "Save As". It's a great habit to get into so you don't loose any original work and I am not cluttered with copies. This is how I do it. (I'm sure there are many programmers screaming at me right now, horrified that I don't make a copy of the original to work on first.) I also suggest you create files to put your icons into. This monster lives in a file called "Monster Icons" in Pictures on my Mac. Creative huh?
In the next part I will show you what I do to put these icons into repeat patterns. A repeat is something that is used for fabric. You can go to sites like Spoonflower and have your art made into fabric. Pretty cool huh?
I hope you liked this tutorial and that you found it helpful and easy to follow. I tried to take lots of screenshots with notes to help you. And if you are a savvy Ps expert who has any tips to share, I'd love to hear them! I also have Photoshop Elements 11 and it has the Magic Wand tool so you should be able to follow these directions!
Thanks for stopping by!
P.S. - This post is part of a Blog Parade from the students of Make Art That Sells. Just click this Link to see the blogs from these wonderful artists.
Wednesday, September 25, 2013
Snapshots From My Studio
Tuesday, September 17, 2013
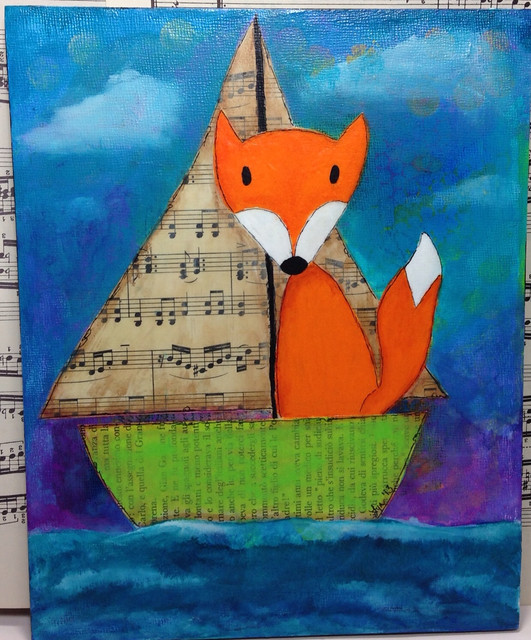
A Painting from Start to Finish
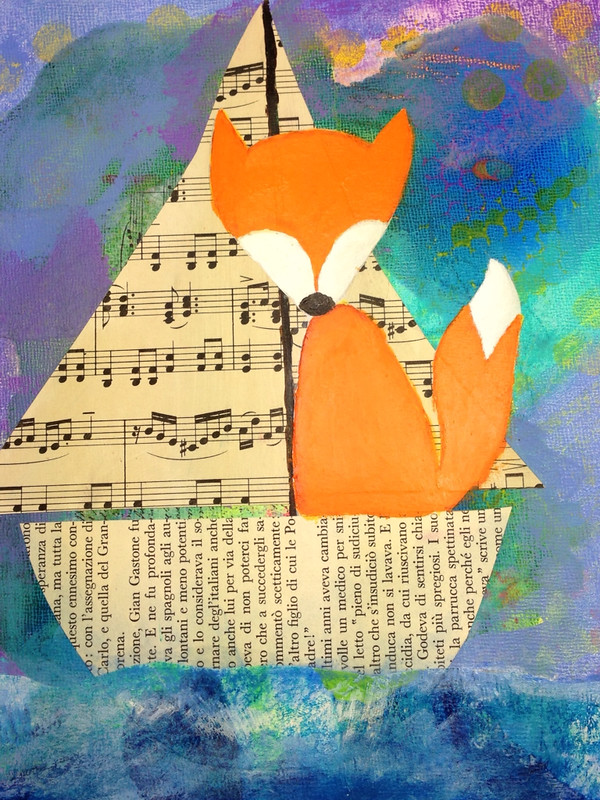
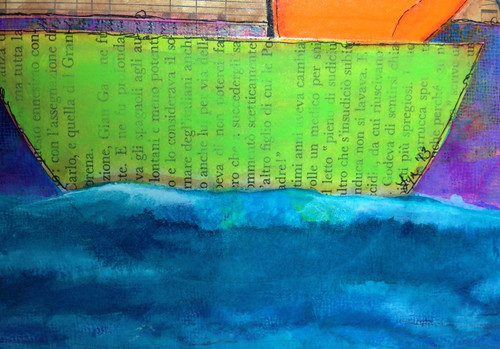
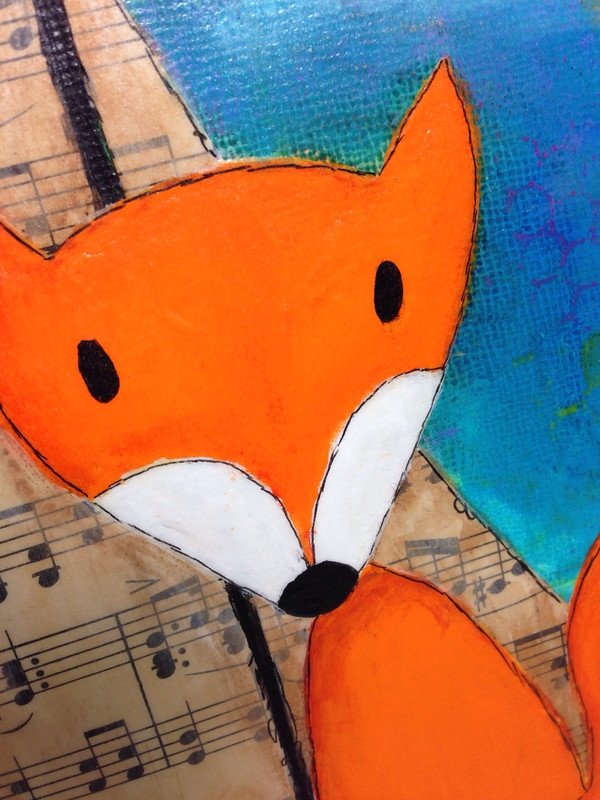
Isn't he a cutie! This is perfect for a boy or girl's room. I will be selling prints and the original in my Etsy shop.
Thanks for stopping by!
Tuesday, September 3, 2013
a Nice Surprise
I'm hanging out at jury duty right now so, I thought I'd blog. Yesterday the whole family drove into the city (Raleigh, NC) so I could see where I needed to be today. On the spur of the moment we decided to see if any museums were open. We lucked out and went to The Museum of Natural Sciences. The kids had a blast!
Friday, August 30, 2013
The Wheels are Turning
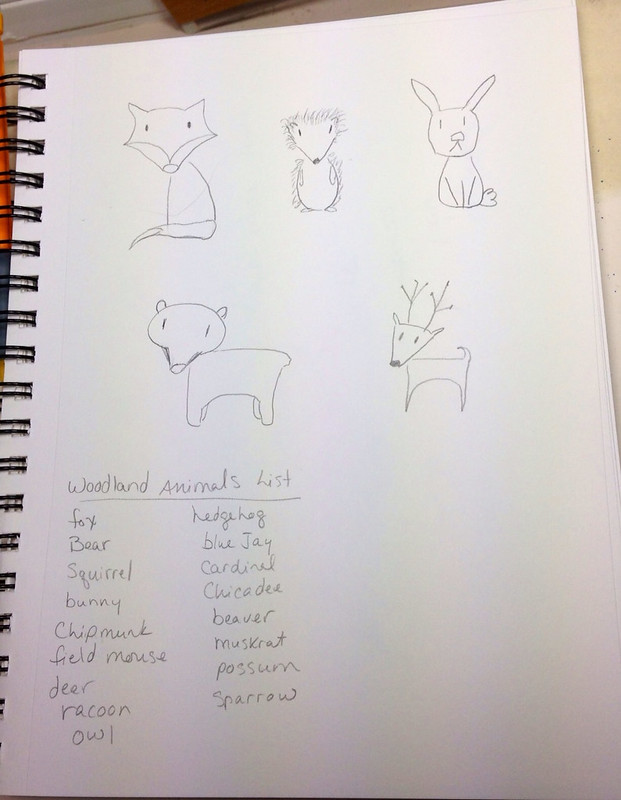
Taking notes and doing preliminary sketches. I'm going to work on my first "Illustration Collection" for licensing purposes. The theme is Woodland Animals. This is an excellent way to continue my "Year of Drawing"!
Thanks for stopping by!
Wednesday, August 28, 2013
Book Review: Craft-A-Doodle
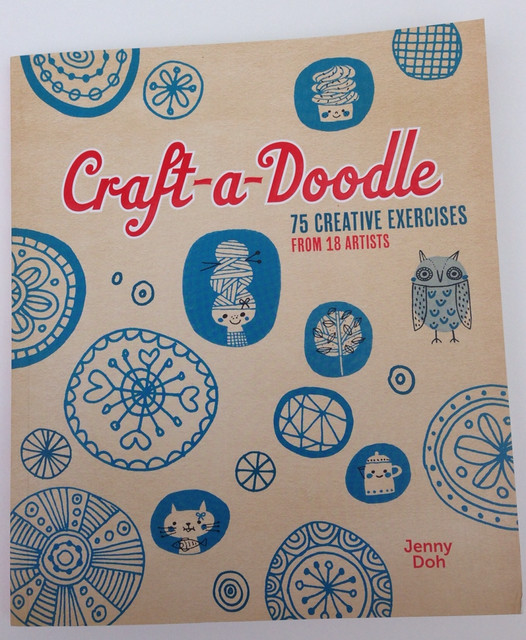
I admit it. I am obsessed with this book, Craft-a-Doodle by Jenny Doh! I carry it around the house with me or to the park so I can refer to it while the kids are playing. It has 75 creative exercises from 18 wonderful artists. I am not a doodler. I'm sure I did it when I was in grade school but I don't do it now. I actually find it kind of hard. I want my doodles to look like other artists' elaborate doodles. Well, that's not what doodling is about. You're not supposed to think. You're not supposed to compare. You just play. So, I've been playing like crazy with this book! I can draw and not necessarily be pretty and when I least expect it, I find treasures I can use and expand on in my art.
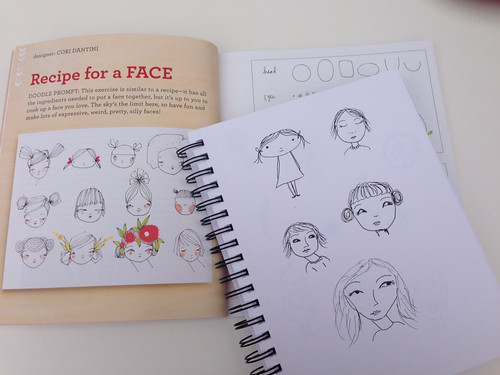
Here I attempted Cori Dantini's " Recipe for a Face". I can't draw like Cori but it was fun trying!
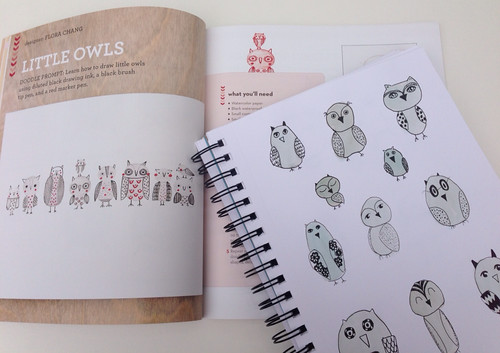
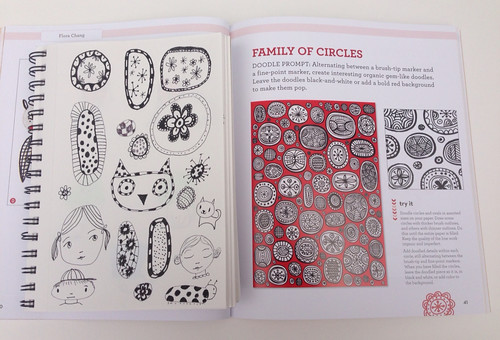
I loved doing some of Flora Chang's exercises.
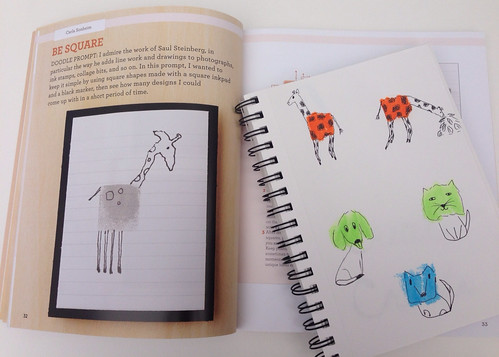
One of my Fave's Carla Sonheim has exercises too!
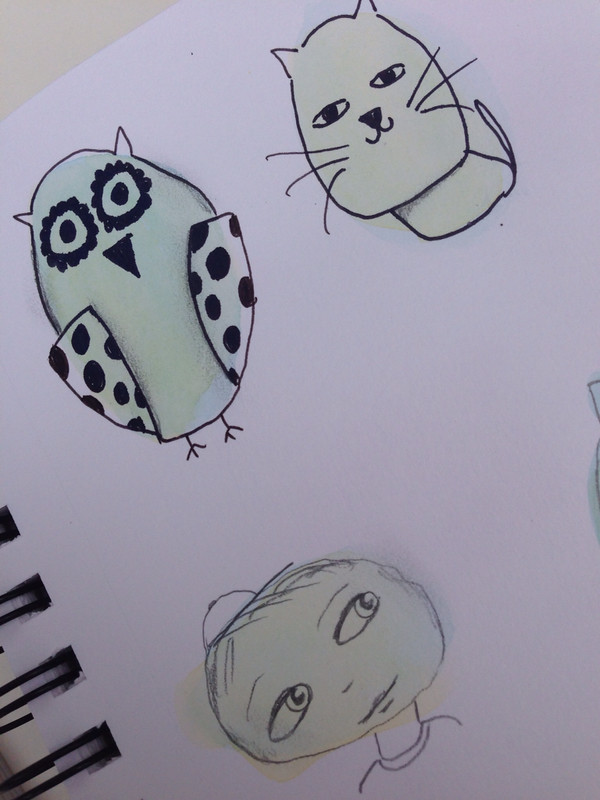
Then I was inspired to create my own. I put random watercolor blobs on a page and drew what I thought they could be. Some failed and some were super cute.
I can't recommend this book enough. There are tons of exercises so, you can find the ones that speak to you and give them a go. It helps me get unstuck. No more "what am I going to draw?" and it gets you to play. I am very guilty of feeling "this has to be an amazing piece of art that I can sell" when I sit to create. I sometimes think playing is a waste of time. It's not. Every mark you make feeds into your art and teaches you something. All that matters is the act of creating. This book helps you create!
Thanks so much for stopping by!
P.S. I've opened an Etsy shop! Each week I'm adding new things. Please click the link and check it out!
Sunday, August 25, 2013
Back Pain!


