Part B of
Make Art That Sells is coming up. I have been trying really hard to learn Photoshop (Ps) and Illustrator (Ai) since the end of Part A. I have gotten a better grasp of Ps. I have taken some courses and am an avid watcher of
Lynda.com. All I am learning though is bits and pieces of things. I specifically want to use my art in Ps and not all the tutorials on
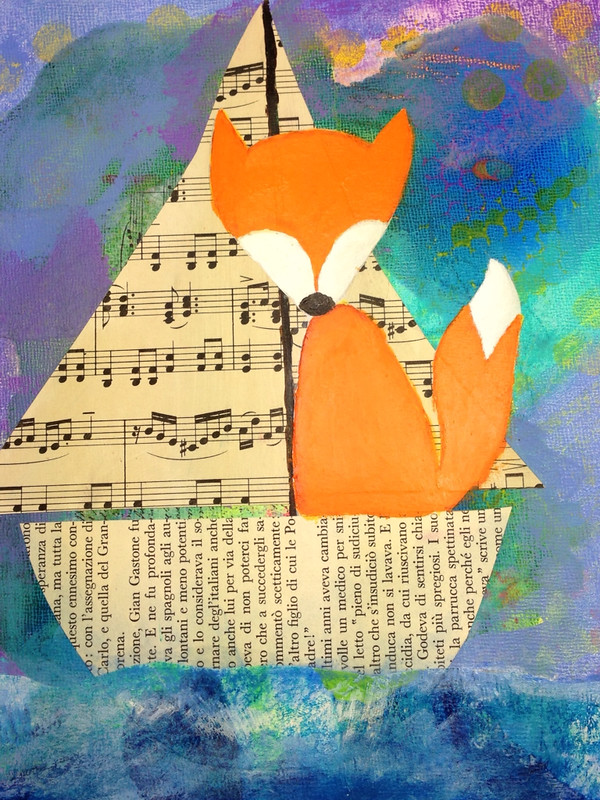
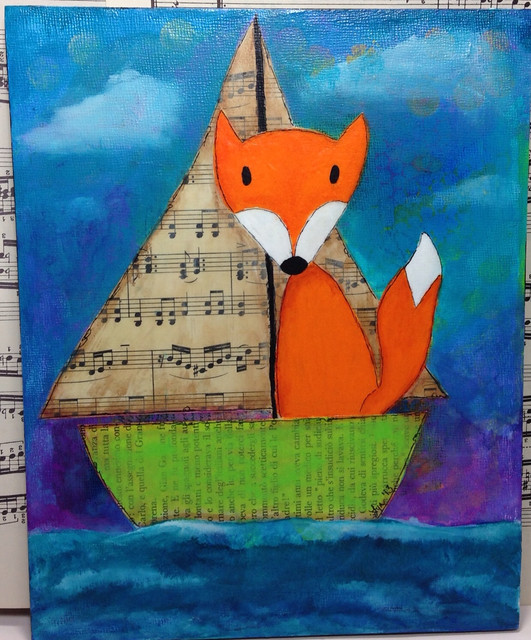
Lynda.com address my needs. So, I've scoured the web for free tutorials and I am finding my work flow. Here is a piece I created in Ps from my art.
My friend,
Nolwenn Petitbois asked how I did it so, I thought I'd write a step by step. Just so you know, I am quite new to using software and writing how-to's. There may be faster ways of doing things. This is how I am working now. If anyone has suggestions or faster methods, let me know. I am totally open to learning!
The first thing I do to make life easier is, I create my characters (also known as icons) on a white piece of paper. I'll show how I isolate art from an existing piece at a later time. I suggest using hot press watercolor paper or bristol paper. Anything very smooth. My scanner picks up everything and creates shadows if there is texture. Scan your art at 400dpi or 600dpi into Photoshop. You can scan as a Tiff or a Jpeg. A Tiff keeps more information.
Here is the sheet of monsters I scanned into Ps. I double click the Layer to unlock it so I can edit. You will be prompted to name the Layer. You can if you want. I usually don't. I also keep my History Panel visible so I can easily jump back a step or more if I need to.
Use the Crop Tool to select your icon.
Then use the Magic Wand tool to erase the white around your image. Think of it like cutting it out of a piece of paper. Click on all the white areas you don't want then hit the Delete button.
After you hit delete you may see stray marks or things you just want to clean up to make your image better. I use the eraser tool for that.
Take your time with this tool. You don't want to erase any areas by mistake. (If you do, you can go back a step in your History panel). Use the bracket keys on your keyboard to make the eraser bigger or smaller. I use the Command Key (Mac) and my + and - keys to make my image bigger or smaller. (I believe it's the Control key on a PC.) The Magic Wand should get rid of almost everything so you don't have much finishing work to do. You should end up with an icon with no background.
Now you need to Save your image without loosing all your other icons. I always, always, always use "Save As". It's a great habit to get into so you don't loose any original work and I am not cluttered with copies. This is how I do it. (I'm sure there are many programmers screaming at me right now, horrified that I don't make a copy of the original to work on first.) I also suggest you create files to put your icons into. This monster lives in a file called "Monster Icons" in Pictures on my Mac. Creative huh?
In the next part I will show you what I do to put these icons into repeat patterns. A repeat is something that is used for fabric. You can go to sites like
Spoonflower and have your art made into fabric. Pretty cool huh?
I hope you liked this tutorial and that you found it helpful and easy to follow. I tried to take lots of screenshots with notes to help you. And if you are a savvy Ps expert who has any tips to share, I'd love to hear them! I also have Photoshop Elements 11 and it has the Magic Wand tool so you should be able to follow these directions!
Thanks for stopping by!
P.S. - This post is part of a
Blog Parade from the students of Make Art That Sells. Just click this
Link to see the blogs from these wonderful artists.